


How to Repot a Hoya Plant: Step-by-Step Guide
Hoyas, known for their stunning waxy leaves and fragrant blooms, are a favorite among plant enthusiasts. However, to keep your Hoya thriving, repotting is a critical task that shouldn't be overlooked. Whether your plant has outgrown its pot or the soil has lost its nutrients, repotting helps ensure a healthy environment for your plant to grow. In this step-by-step guide, you will learn everything you need to know about repotting a Hoya plant.
Why Repotting is Important
Over time, the soil in a plant’s pot can become compacted and lose its ability to drain water properly. Additionally, as plants grow, their roots need more space to spread out. Repotting not only gives your Hoya fresh soil with vital nutrients but also provides more room for root growth, ensuring that your plant continues to thrive.
Regular repotting can also help prevent issues like root rot, which can occur when soil remains too wet for too long. This makes the process of repotting not only a chance to refresh your plant’s environment but also an opportunity to inspect the health of its root system.
When to Repot a Hoya Plant
Knowing when to repot your Hoya is crucial. Here are a few signs that it's time to repot your plant:
Roots Growing Out of Drainage Holes: When the roots start to escape from the pot’s drainage holes, it means they need more room to grow.
Water Drains Too Quickly or Slowly: If water runs straight through the pot without being absorbed, or takes too long to drain, it's a sign that the soil may be compacted or the potting mix has degraded.
Stunted Growth: If your Hoya isn't growing as vigorously as before, it could be because it's root-bound, meaning the roots have taken up all available space.
Two to Three Years Have Passed: Even if your Hoya looks healthy, it's a good rule of thumb to repot it every two to three years.
Best Time of Year to Repot
The ideal time for repotting a Hoya plant is during the spring or early summer, when the plant is entering its active growing season. This allows your plant to recover more quickly from the stress of repotting and establish its roots in the new soil.
What You’ll Need for Repotting
Before starting the repotting process, make sure you have the following supplies on hand:
A Pot: Choose one that is 1-2 inches larger in diameter than the current pot. Make sure it has drainage holes to prevent water buildup.
Potting Mix: Hoyas thrive in a well-draining mix. A mix designed for orchids, or a blend of peat, perlite, and pine bark, will work well.
Gloves: These will help protect your hands when handling soil and the plant.
Trowel or Spoon: For removing old soil and filling in the new soil around the roots.
Shears: To trim any dead or damaged roots.
Step-by-Step Guide: How to Repot a Hoya Plant
Step 1: Prepare the New Pot
Start by filling the new pot with a fresh potting mix. Add enough soil so the root ball of your Hoya will sit about an inch below the rim of the pot.
Gently tap the pot to ensure that the soil settles evenly, leaving space for the plant.
Step 2: Water Your Hoya in Advance
Watering your Hoya a day before repotting will make it easier to remove the plant from its current pot without damaging the roots. Avoid repotting a completely dry or overly wet plant.
Step 3: Remove the Plant from Its Current Pot
Gently turn the pot on its side and tap the sides and bottom to loosen the soil. Carefully slide the plant out, supporting the root ball with your hand. If the plant resists, use a trowel or spoon to gently loosen the edges of the soil around the pot.
Be cautious not to pull too hard, as you may damage the roots.
Step 4: Inspect the Root System
Once your Hoya is out of its old pot, inspect the root ball for any signs of disease or rot. Healthy roots are white or light tan and firm to the touch. If you notice any brown, mushy, or black roots, trim them off using clean shears.
Gently shake off old soil from the roots, being careful not to disturb them too much.
Step 5: Place the Plant in the New Pot
Position the Hoya in the center of the new pot, making sure the top of the root ball sits about an inch below the rim of the pot.
Fill in around the sides with fresh potting mix, pressing down lightly to eliminate any air pockets. Make sure the plant is stable and standing upright.
Step 6: Water Thoroughly
After planting, water your Hoya thoroughly until water drains from the bottom of the pot. This helps settle the new soil around the roots and ensures that they are well-hydrated.
Avoid overwatering by checking the soil’s moisture level before watering again.
Aftercare for a Recently Repotted Hoya
Once you have finished repotting your Hoya, it’s important to give it the proper care to help it adjust to its new environment:
Light: Place your Hoya in a spot with bright, indirect light. Direct sunlight can scorch the leaves, especially after repotting.
Humidity: Hoyas appreciate a bit of extra humidity. If your environment is dry, consider placing a humidifier nearby or misting your plant occasionally.
Watering: Water your Hoya less frequently for the first week after repotting, allowing it to acclimate. Resume normal watering when the top two inches of soil are dry.
Common Mistakes to Avoid
Repotting is simple but can be overwhelming if you're unsure of the process. Here are some common mistakes to avoid:
Repotting Too Often: Repotting can stress your plant. Hoyas prefer to be slightly root-bound, so repot only when necessary.
Using the Wrong Potting Mix: Hoyas need a well-draining mix. Using regular potting soil can lead to poor drainage and increase the risk of root rot.
Overwatering After Repotting: After repotting, it's essential to let the plant adjust to its new environment. Too much water can cause stress and damage to the roots.
How Often Should You Repot?
For most Hoyas, repotting every 2-3 years is sufficient. However, keep an eye on your plant’s health and growth to determine the right timing. The size of the pot also plays a role in how often you need to repot. A pot that is too small can lead to root-bound plants, while a pot that is too large can retain too much moisture.
Your Hoya's New Home
Repotting a Hoya may seem like a daunting task, but with the right tools and steps, you can easily give your plant the fresh environment it needs to flourish. Repotting your plant not only provides new space for root growth but also refreshes the soil with vital nutrients, ensuring that your Hoya stays healthy and vibrant for years to come. Remember to monitor your plant after repotting for signs of adjustment, and soon enough, you’ll see it thriving in its new home.
Fern's Leafy Learnings
Repot your Hoya plant every 2-3 years to provide fresh soil and room for growth.
Use a well-draining mix, such as orchid potting mix or a blend of peat, perlite, and bark.
Always inspect the roots for rot or damage before repotting.
Water less frequently after repotting to allow the plant to adjust.
Choose a pot that is only 1-2 inches larger than the previous one to avoid overwatering issues.
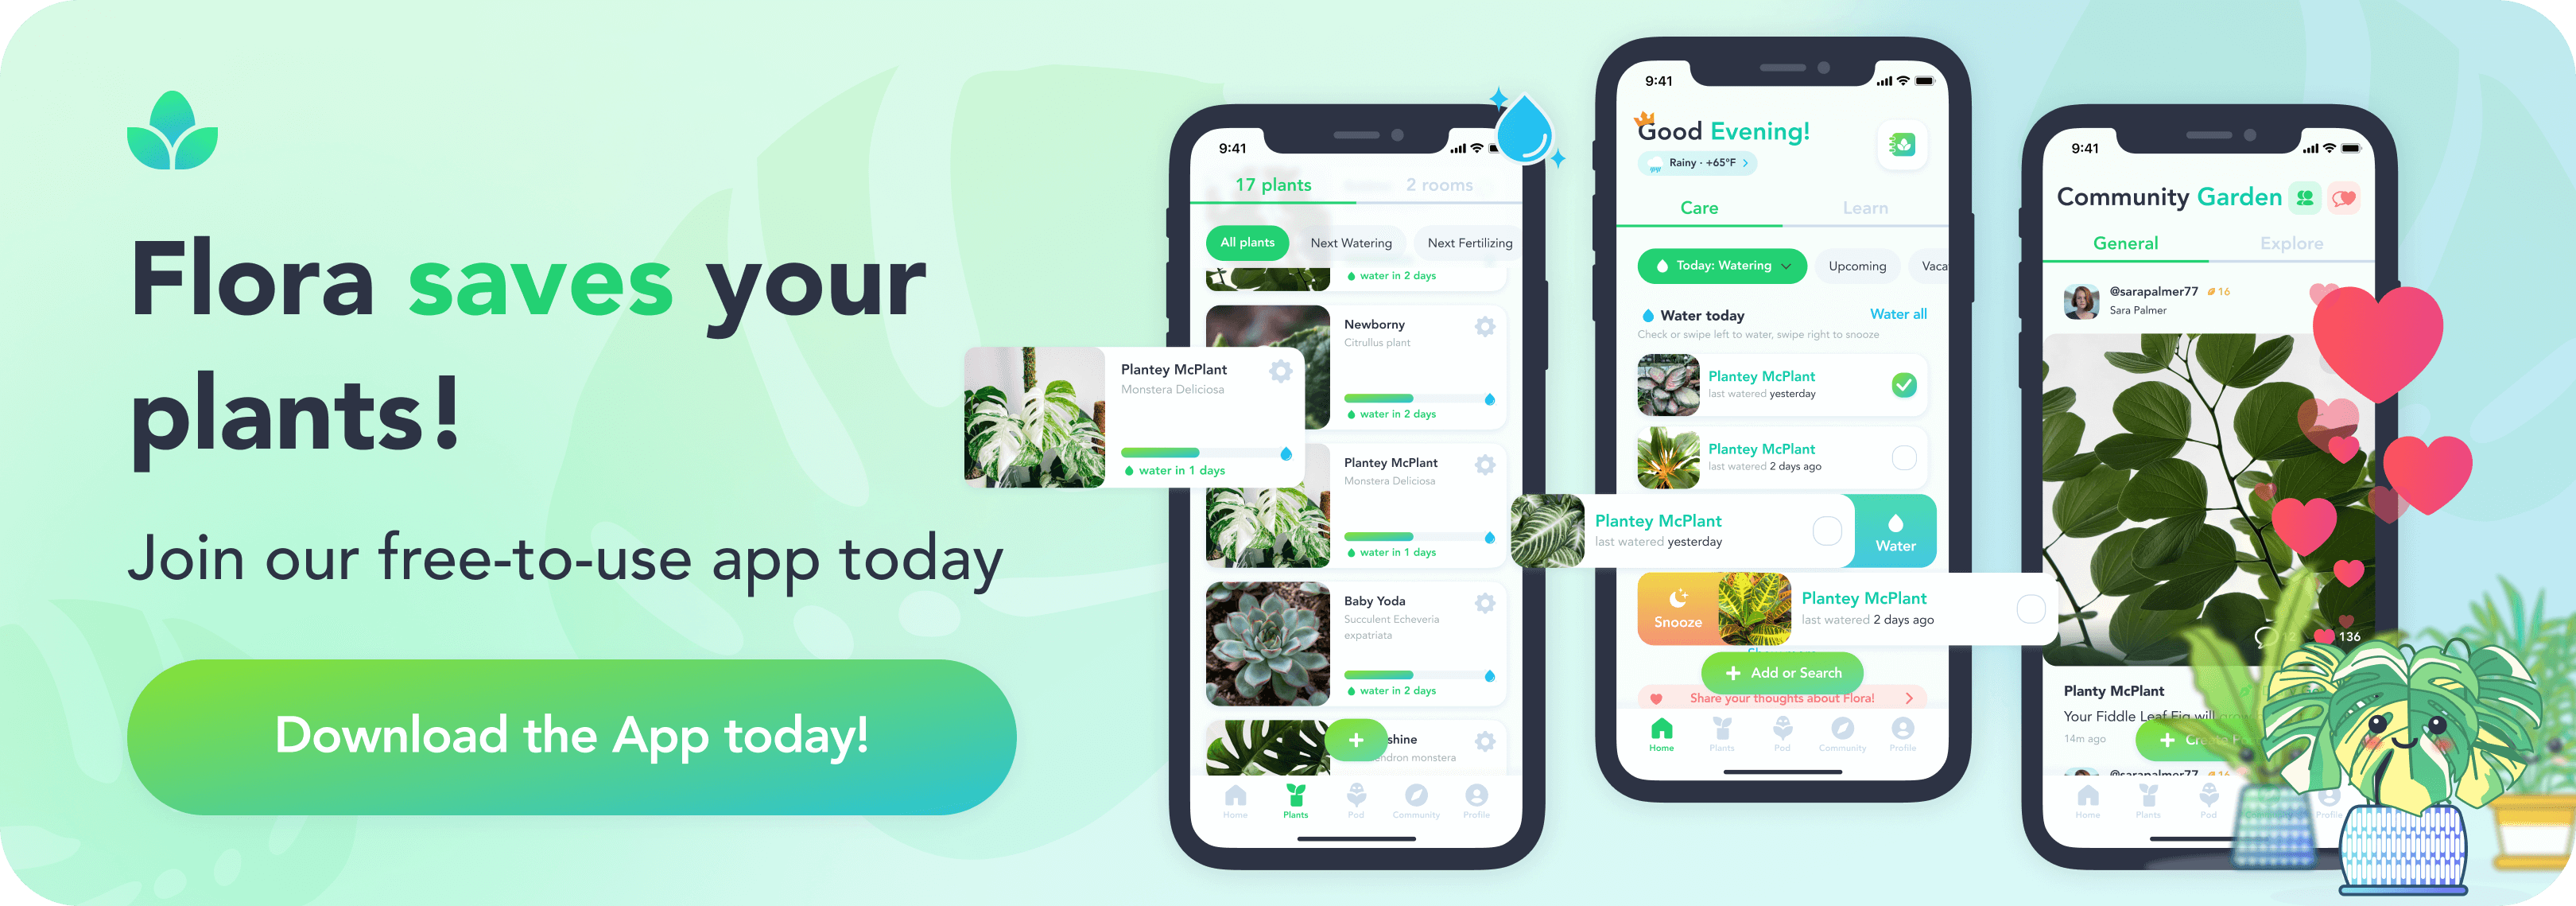
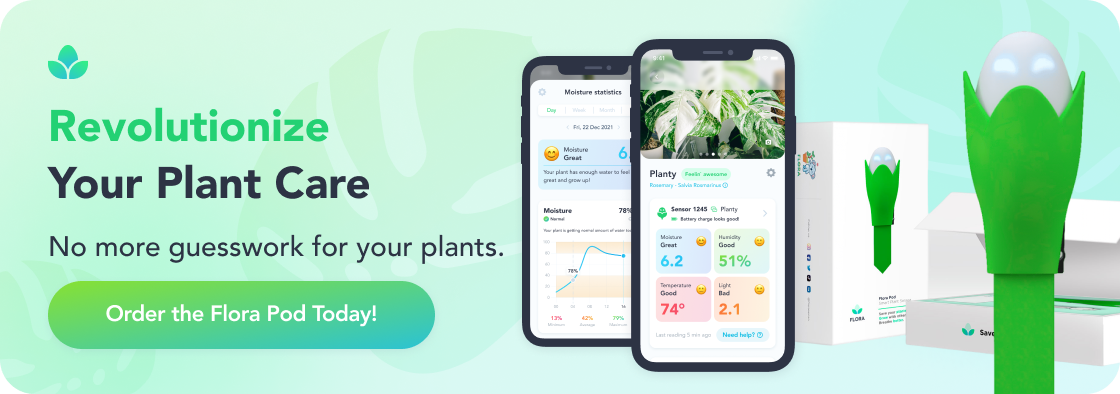
Deepen Your Roots with Flora
At Flora, we not only bring you a vibrant selection of locally sourced, rare, and delightful plants, but we also serve as your continuous guide in your plant parenting voyage, ensuring every leaf in your sanctuary thrives. With our Flora Pod™ technology and a nurturing community of over 250,000 plant lovers, we cultivate a space where every plant parent - novice or expert - can blossom.
We propagate with a commitment to sustainability, connection, and ceaseless growth, fostering a community where each member, and their plants, are cherished and nurtured.
Crave a lush, thriving green space? Adopt a plant from Flora today!
Flora Pod™ is featured on Shark Tank!


Shop Plants
Top 10 Most Popular Roses
Mar 22, 2022
How to Care for China Roses
Mar 11, 2022
How to Care for Chinese Money Plants
May 15, 2020
How to Grow and Care for A Bird of Paradise
Apr 26, 2020
Top 10 Plants To Grow In A Terrarium
May 31, 2022
How to Grow and Care for Lucky Bamboo
Mar 29, 2022
How to Grow and Care for Corn Plants
Mar 29, 2022
How to Care for Madagascar Dragon Trees
Mar 21, 2022