


Propagation 101: How to Propagate Plants
Plant propagation is a fascinating and rewarding way to multiply your plant collection without purchasing new plants. Whether you are a seasoned gardener or a beginner, learning the art of propagation can help you create new plants from existing ones, bringing more greenery and life into your home. This comprehensive guide will cover everything you need to know about propagation, including the most effective methods and tips for success.
Understanding Plant Propagation
Plant propagation involves creating new plants from various parts of the parent plant, such as seeds, stems, leaves, or roots. There are several methods of propagation, each suited to different types of plants and circumstances. The most common and successful methods include stem cuttings, leaf cuttings, division, and layering.
Methods of Plant Propagation
Stem Cuttings: This method involves taking a section of a plant's stem and encouraging it to grow roots. It is a versatile and commonly used technique for many houseplants and outdoor plants.
Leaf Cuttings: Particularly effective for succulents and certain houseplants, leaf cuttings involve using individual leaves to generate new plants.
Division: This method is ideal for plants that grow in clumps or have multiple stems. It involves separating the plant into smaller sections, each with its own roots.
Layering: A technique where a stem is encouraged to grow roots while still attached to the parent plant, often used for plants that are difficult to root from cuttings.
Step-by-Step Guide to Propagation
1. Propagating by Stem Cuttings
Stem cuttings are a straightforward and effective method for propagating many types of plants, especially those with nodal growth points. This method involves taking a section of a plant's stem and encouraging it to develop roots. Here's how to do it:
Materials Needed
Pruning shears or sharp scissors
Rooting hormone (optional)
Potting mix or water
Small pots or containers
Procedure
Step 1: Select a Healthy Cutting
Choose a healthy stem from the parent plant, preferably one with at least one or two nodes (where leaves attach to the stem). Nodes are critical because this is where new roots will emerge.
Step 2: Prepare the Cutting
Using sharp, clean scissors or pruning shears, cut the stem just below a node. An angled cut increases the surface area for water uptake, improving the chances of successful rooting. Remove any leaves from the lower portion of the cutting to prevent them from rotting in the water or soil.
Step 3: Rooting Hormone
Dip the cut end in rooting hormone to encourage root development. While this step is optional, it is highly recommended for plants that are difficult to root. Rooting hormone stimulates root growth and increases the success rate of propagation.
Step 4: Planting
Insert the cutting into a pot filled with moist potting mix or place it in a container of water, ensuring the node is submerged. If using potting mix, make a hole with a pencil to avoid damaging the cutting when inserting it into the soil.
Step 5: Care
Keep the cutting in a warm, bright location with indirect sunlight. If rooting in water, change the water every few days to prevent stagnation and algae growth. If rooting in soil, keep the soil lightly moist but not waterlogged. You can create a mini-greenhouse effect by covering the pot with a clear plastic bag to maintain humidity.
Step 6: Transplanting
Once roots have developed, typically within a few weeks, transplant the cutting into a larger pot or garden bed. The roots should be at least one inch long before transplanting. Handle the new plant carefully to avoid damaging the delicate roots.
2. Propagating by Leaf Cuttings
Leaf cuttings are particularly effective for succulents and other plants that can regenerate from individual leaves. This method involves using a healthy leaf to grow a new plant.
Materials Needed
Healthy leaves
Potting mix
Small pots
Procedure
Step 1: Select Healthy Leaves
Choose healthy leaves from the parent plant. The leaves should be free of disease and damage.
Step 2: Leaf Removal
Gently pluck the leaves from the plant, ensuring they come off cleanly. A clean break helps prevent infection and promotes better rooting.
Step 3: Callous Formation
Allow the leaf ends to dry and form a callous for a day or two. This step is crucial for preventing rot when the leaves are placed in soil. The callous acts as a protective barrier, reducing the risk of disease.
Step 4: Planting
Place the dried leaves on top of moist potting mix in small pots. The leaves should be laid flat on the soil surface. Some plants, like succulents, can be slightly inserted into the soil to anchor them.
Step 5: Root Development
Roots will eventually emerge from the base of the leaf. Keep the soil lightly moist during this period. Avoid overwatering, as too much moisture can lead to rot. Roots typically start to form within a few weeks.
Step 6: Transplanting
Once the new plantlets have sufficient roots, transplant them into individual pots or your garden. Handle the new plants gently, as the young roots are very delicate. Ensure they are planted in well-draining soil suitable for their type.
3. Propagating by Division
Division is suitable for plants that grow in clumps, such as perennials and grasses. This method involves separating a mature plant into smaller sections, each with its own roots and stems.
Materials Needed
Pruning shears or a garden spade
Potting mix
New pots or garden space
Procedure
Step 1: Select a Healthy Plant
Choose a mature plant with multiple stems. The plant should be healthy and vigorous, as weaker plants may not survive the division process.
Step 2: Prepare the Plant
Water the plant well a day before division to ease the process. Moist soil is easier to work with and helps reduce root damage.
Step 3: Dig Up the Plant
Use a spade to carefully dig up the entire plant, exposing the root system. Handle the plant gently to avoid breaking the roots.
Step 4: Separate Clumps
Gently separate the clumps by pulling them apart or using a spade. Each division should have its own set of roots and stems. Be careful to minimize root damage and discard any dead or diseased sections.
Step 5: Replant
Place each divided clump into a new pot or directly into the garden. Plant them at the same depth they were originally growing. Fill around the roots with fresh potting mix or garden soil and press gently to remove air pockets.
Step 6: Water and Care
Water thoroughly and provide proper care as the new divisions establish themselves. Keep the soil consistently moist and place the plants in appropriate light conditions for their species.
4. Propagating by Layering
Layering involves encouraging a stem to grow roots while still attached to the parent plant. This method is particularly useful for plants that are difficult to root from cuttings.
Procedure
Step 1: Select a Low-Hanging Stem
Choose a stem that can easily be bent to the ground or a pot. The stem should be healthy and flexible enough to be buried without breaking.
Step 2: Bury the Stem
Bury a portion of the stem in the soil while keeping the tip exposed. You can secure it with a small stone or garden pin. The buried section should include a node where roots will form.
Step 3: Wait for Roots to Form
Over time, roots will develop at the buried section. This process can take several weeks to a few months, depending on the plant species.
Step 4: Separate from the Parent Plant
Once the roots are established, cut the new plant from the parent and transplant it to its own pot or garden space. Ensure the new plant is well-rooted before separating to increase its chances of survival.
5. Growing from Seed
Growing plants from seeds is a fundamental propagation method that applies to many outdoor plants. It involves collecting and sowing seeds to produce new plants.
Procedure
Step 1: Collect Seeds
Allow the plant to go to seed after flowering. Collect seeds once the seed pods turn brown and dry. Choose a dry day to collect seeds to ensure the best results. Gently crunch the seed pods or flower heads between your fingers and shake them to release the seeds.
Step 2: Store Seeds
Store the seeds in brown paper bags in a cool, dry place. Label the bags with the plant name and date. Avoid using plastic bags, as they can trap moisture and cause the seeds to mold.
Step 3: Sow Seeds
Sow seeds in seed trays filled with a seed-starting mix in late spring after the risk of frost has passed. Lightly cover the seeds with soil and water gently. Place the seed trays in a warm, bright location.
Step 4: Care for Seedlings
Keep the soil consistently moist until the seeds germinate. Once the seedlings have developed a few sets of leaves, thin them out if necessary to prevent overcrowding. Transplant the seedlings into larger pots or directly into the garden when they are strong enough to handle.
Rule of (Green) Thumb: Never store seeds in plastic bags to avoid condensation and mold.
Post-Propagation Care
After successful propagation, it's important to provide the right care to help your new plants thrive. This includes proper watering, light exposure, and monitoring for signs of stress. Here’s how to ensure your newly propagated plants get the best start in life:
Watering
Keep the soil consistently moist but not waterlogged. Newly propagated plants, especially those that are still developing roots, need consistent moisture to establish themselves. However, overwatering can be detrimental:
- Frequency: Adjust watering frequency based on the type of plant and environmental conditions. Some plants may need daily watering, while others might need it less frequently.
- Technique: Water gently to avoid disturbing the delicate roots. A misting bottle can be helpful for smaller cuttings and seedlings.
- Soil moisture: Check the moisture level of the soil regularly. The top inch of soil should be slightly damp to the touch. Avoid letting the soil dry out completely or stay soggy.
Light
Provide bright, indirect light to encourage healthy growth. Light is crucial for photosynthesis, but too much direct sunlight can damage young plants:
Location: Place the plants in a spot where they receive bright, indirect light. South or west-facing windows with filtered light work well.
Avoid direct sunlight: Direct sunlight can scorch tender leaves and stems. If necessary, use sheer curtains to diffuse the light.
Supplemental lighting: If natural light is insufficient, consider using grow lights. These can provide the necessary light spectrum for growth without the risk of burning the plants.
Monitoring
Watch for signs of stress such as wilting or yellowing leaves. Monitoring the health of your propagated plants is crucial for early intervention:
Wilting: This can be a sign of both under-watering and overwatering. Check the soil moisture to determine the cause.
Yellowing leaves: This may indicate nutrient deficiencies, overwatering, or inadequate light. Adjust your care routine accordingly.
Growth rate: Monitor the growth rate of the plants. Slow growth can indicate poor conditions or root development issues.
Pests and diseases: Keep an eye out for any signs of pests or diseases. Early detection and treatment are vital to prevent spread and damage.
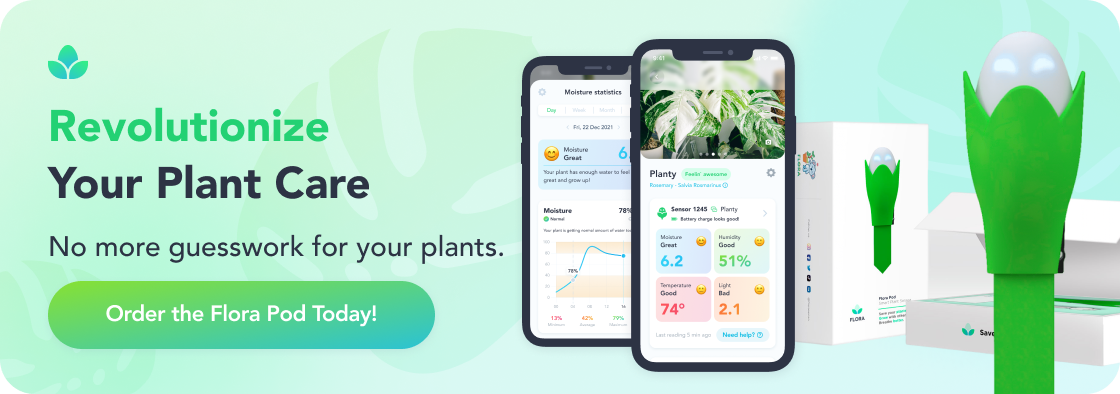
Tip From Fern: Try using the Flora Pod™ or Flora App to help you monitor your plant once you’ve completed your propagation.
Common Mistakes to Avoid
Even experienced gardeners can make mistakes when propagating plants. Here are some common pitfalls to avoid:
Using the Wrong Soil
Always use a soil mix appropriate for your plant type to ensure proper drainage and nutrient retention. Different plants have different soil needs:
Cacti and succulents: These plants require a well-draining soil mix with sand or perlite.
Tropical plants: They prefer a rich, loamy mix that retains moisture but drains well.
General houseplants: A balanced potting mix with good drainage properties is usually sufficient.
Using the wrong soil can lead to poor drainage, root rot, and nutrient deficiencies. Always tailor the soil mix to the specific needs of your plant.
Overwatering
Newly propagated plants are susceptible to overwatering. Ensure proper drainage and avoid keeping the soil too wet.
Drainage: Make sure pots have drainage holes to allow excess water to escape. This prevents waterlogging and root rot.
Watering schedule: Be cautious with the frequency of watering. It’s better to water less frequently but thoroughly than to keep the soil constantly wet.
Signs of overwatering: Look for yellowing leaves, mushy stems, and mold on the soil surface as indicators of overwatering.
Choosing a Pot That's Too Large
A pot that's too large can retain too much water, leading to root rot. Stick to appropriately sized pots.
Pot size: Choose a pot that is just a bit larger than the plant's root system. For cuttings, small pots work best until the roots are well established.
Risks of large pots: Large pots hold more soil, which can retain water for longer periods, increasing the risk of root rot.
Transplanting: Gradually move plants to larger pots as they grow to ensure they have enough space without the risk of excessive moisture retention.
By following these guidelines for post-propagation care and avoiding common mistakes, you can ensure your new plants thrive and grow strong. Proper care during this critical stage will set the foundation for healthy, vibrant plants.
Propagation is a valuable skill for any plant enthusiast, allowing you to expand your collection and share your love of plants with others. By following these steps and understanding the needs of your plants, you can successfully propagate and enjoy new growth in your garden or home.
Fern's Leafy Learnings
Choose the right method: Different plants require different propagation methods, such as stem cuttings, leaf cuttings, division, or layering.
Prepare properly: Use clean tools, appropriate soil, and rooting hormone when necessary to increase the chances of successful propagation.
Provide the right conditions: Ensure proper watering, light, and temperature to help new plants establish themselves.
Monitor for stress: Watch for signs of stress and adjust care routines to support healthy growth.
Avoid common mistakes: Use the correct soil, avoid overwatering, and choose appropriately sized pots to ensure successful propagation.
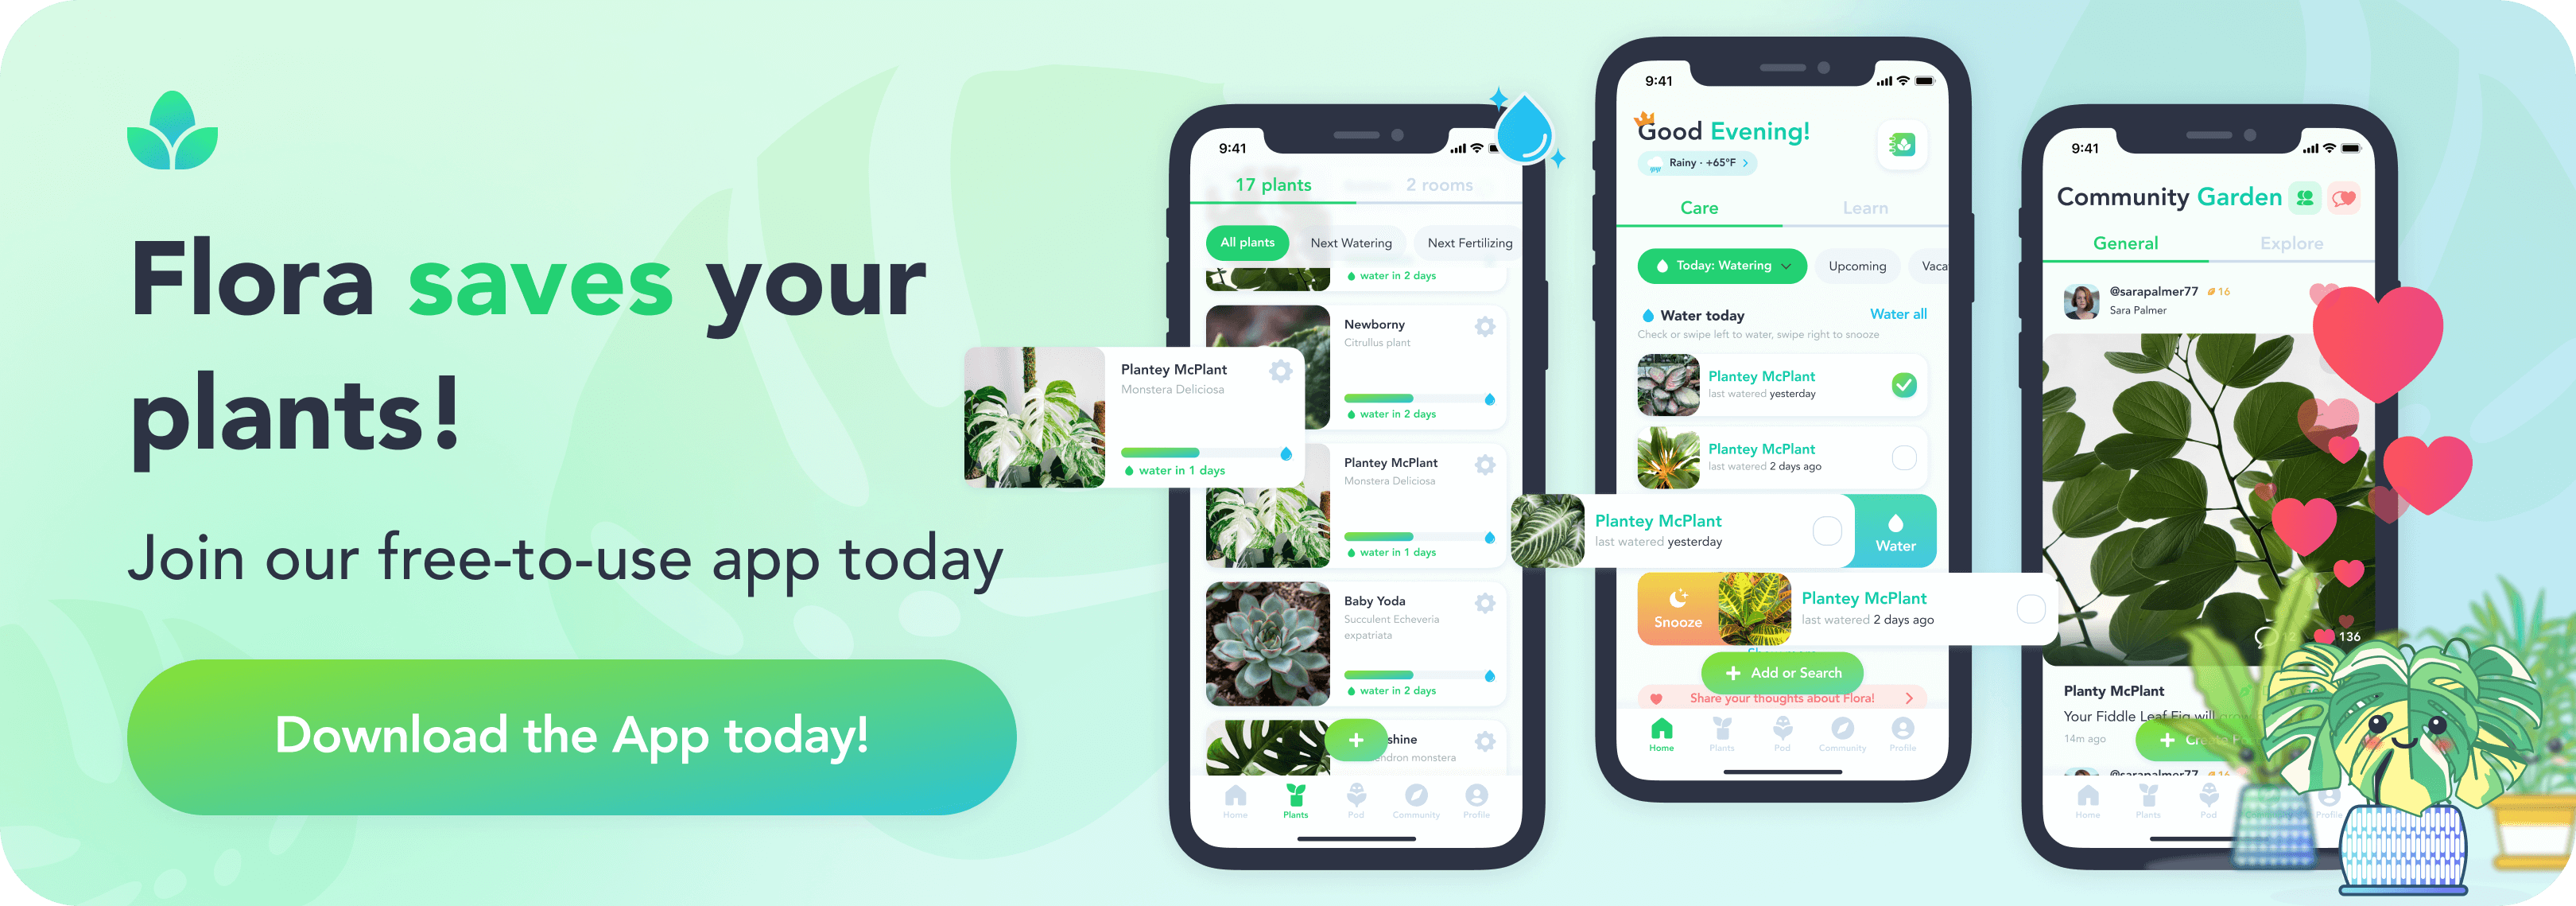
Deepen Your Roots with Flora
At Flora, we not only bring you a vibrant selection of locally sourced, rare, and delightful plants, but we also serve as your continuous guide in your plant parenting voyage, ensuring every leaf in your sanctuary thrives. With our Flora Pod™ technology and a nurturing community of over 250,000 plant lovers, we cultivate a space where every plant parent - novice or expert - can blossom.
We propagate with a commitment to sustainability, connection, and ceaseless growth, fostering a community where each member, and their plants, are cherished and nurtured.
Crave a lush, thriving green space? Adopt a plant from Flora today!
Flora Pod™ is featured on Shark Tank!


Shop Plants
Top 10 Most Popular Roses
Mar 22, 2022
How to Care for China Roses
Mar 11, 2022
How to Care for Chinese Money Plants
May 15, 2020
How to Grow and Care for A Bird of Paradise
Apr 26, 2020
Top 10 Plants To Grow In A Terrarium
May 31, 2022
How to Grow and Care for Lucky Bamboo
Mar 29, 2022
How to Grow and Care for Corn Plants
Mar 29, 2022
How to Care for Madagascar Dragon Trees
Mar 21, 2022