

Step-by-Step Guide to Rubber Plant Propagation


Rubber plants, known scientifically as Ficus elastica, are popular houseplants admired for their glossy leaves and robust growth. Propagating rubber plants is a rewarding process that allows you to expand your collection or share this beautiful plant with friends and family. This comprehensive guide will walk you through the various methods of how to propagate rubber plants, ensuring you have all the information you need for successful propagation.

Understanding Rubber Plant Propagation
Propagation is the process of creating new plants from a variety of sources: seeds, cuttings, or other plant parts. For rubber plants, the most common methods are stem cuttings and air layering. Each method has its own advantages and can be chosen based on your preference and resources.
Tools and Materials Needed
Before you start propagating your rubber plant, gather the necessary tools and materials:
Sharp, clean pruning shears or a knife
Small pots or containers
Potting soil
Rooting hormone (optional)
Plastic bags or a humidity dome
Water
Method 1: Propagating Rubber Plant Using Stem Cuttings
Stem cuttings are a straightforward and popular method for propagating rubber plants. Here’s a detailed step-by-step guide:
Step 1: Select a Healthy Parent Plant
Choose a healthy, mature rubber plant with strong, vigorous growth. Look for a stem that is at least 6 inches long with several leaves. The parent plant should be free of pests and diseases to ensure the cutting is healthy and has the best chance of rooting successfully.
Step 2: Make the Cut
Using sharp, clean pruning shears or a knife, cut a 6-8 inch section of the stem just below a node (the point where leaves attach to the stem). Ensure the cutting has at least two to three leaves. Cutting just below a node is crucial because this is where root development is most likely to occur. Make sure your cutting tool is sterilized to prevent the spread of diseases.
Step 3: Prepare the Cutting
Remove the lower leaves from the cutting, leaving only the top two or three. This reduces water loss through transpiration and focuses the plant's energy on root development. If desired, dip the cut end of the stem into rooting hormone to encourage faster root development. Rooting hormone can increase the chances of successful rooting by stimulating cell growth at the cut site.
Step 4: Plant the Cutting

Fill a small pot or container with well-draining potting soil. Insert the cutting into the soil, making sure at least one node is buried. Firm the soil around the cutting to hold it in place. A well-draining soil mix, such as a blend of perlite, peat, and coarse sand, will help prevent waterlogging and provide a good environment for root growth.
Step 5: Create a Humid Environment
Cover the pot with a plastic bag or place it under a humidity dome to maintain high humidity. This will help the cutting retain moisture and encourage root growth. Ensure the plastic bag or dome does not touch the leaves to avoid fungal issues. Ventilate occasionally to prevent mold and mildew.
Step 6: Water and Wait
Water the cutting lightly and place it in a warm, bright location with indirect sunlight. Keep the soil moist but not waterlogged. In 4-6 weeks, you should start to see new growth, indicating that roots have developed. Be patient and avoid disturbing the cutting during this period to give it the best chance to establish roots.
Method 2: Propagating Rubber Plant Using Air Layering
Air layering is another effective method for rubber tree propagation, especially for larger plants that may be difficult to handle as cuttings. This method involves encouraging roots to grow on the plant before cutting it off to create a new plant.
Step 1: Choose a Branch
Select a healthy, mature branch that is at least one year old. Make sure it is strong and free of any pests or diseases. The chosen branch should be flexible enough to handle manipulation without breaking.

Step 2: Make an Incision
Using a sharp knife, make a diagonal cut about one-third of the way through the branch. This cut should be about 12 inches from the tip of the branch. The diagonal cut exposes more surface area for root formation. Be careful not to cut all the way through the branch.
Step 3: Insert a Toothpick
Insert a small toothpick or a piece of plastic into the cut to keep it open. This prevents the cut from healing and encourages root development. The toothpick should be placed firmly but gently to avoid splitting the branch further.
Step 4: Apply Rooting Hormone
If desired, apply rooting hormone to the cut area to stimulate root growth. This step is optional but can significantly enhance the rooting process by providing hormones that encourage root cell development.
Step 5: Wrap with Moist Sphagnum Moss
Soak sphagnum moss in water and then wrap it around the cut section of the branch. Secure the moss with plastic wrap, ensuring it is tightly sealed to retain moisture. The moss should be moist but not dripping wet, and the plastic wrap should create a mini greenhouse effect around the cut.
Step 6: Wait for Roots to Develop
Keep the moss moist by occasionally misting it with water. In 4-8 weeks, roots should start to develop within the moss. Once a substantial root system has formed, cut below the new roots and plant the new rubber plant in a pot with fresh soil. Make sure to handle the new plant gently to avoid damaging the delicate new roots.
Method 3: Propagate Rubber Plant in Water
Propagating rubber plants in water is a simple and visually engaging method, allowing you to see the roots as they develop. This method is great for beginners and those who enjoy watching the progress of root growth.
Step 1: Prepare the Cutting
Follow the same steps for selecting and cutting a stem as in the stem cutting method. Ensure the cutting is healthy and has a few leaves to support photosynthesis during the rooting process.
Step 2: Place in Water
Place the cutting in a glass or jar of water, ensuring that at least one node is submerged. Use a clear container so you can easily monitor root growth. Change the water every few days to keep it fresh and free of bacteria, which can prevent root rot and other issues.
Step 3: Monitor Root Development
Place the jar in a bright location with indirect sunlight. Within a few weeks, you should see roots starting to develop. The development of roots in water can take anywhere from 2 to 6 weeks, depending on the environment and the health of the cutting.
Step 4: Plant in Soil
Once the roots are about 1-2 inches long, carefully transfer the cutting to a pot filled with well-draining soil. Handle the cutting gently to avoid damaging the new roots. Water the new plant thoroughly and place it in a location with bright, indirect light. Monitor the plant closely during the transition to soil, as this can be a delicate period for the newly rooted cutting.
Care Tips for Newly Propagated Rubber Plants
Regardless of the propagation method you choose, proper care is essential for the success of your new rubber plants:
Light: Place your new plants in bright, indirect light. Direct sunlight can scorch the leaves.
Watering: Keep the soil consistently moist but not waterlogged. Overwatering can lead to root rot.
Humidity: Rubber plants appreciate higher humidity. Mist the leaves regularly or use a humidity tray.
Temperature: Maintain a warm environment between 65-80°F (18-27°C).
Fertilization: Feed your rubber plants with a balanced, water-soluble fertilizer every 4-6 weeks during the growing season.

Common Challenges and Solutions
Root Rot
Overwatering can lead to root rot, a common issue with rubber plant propagation. Ensure your soil is well-draining and avoid letting the plant sit in water.
Leaf Drop
Newly propagated plants may experience some leaf drop as they adjust to their new environment. Keep the plant in stable conditions and avoid drastic changes in light or temperature.
Slow Root Development
If roots are slow to develop, ensure the cutting or air layer is kept in high humidity and consistently moist conditions. Using rooting hormone can also help speed up the process.
Propagating rubber plants is a fulfilling way to expand your plant collection and share your love of gardening. By following these step-by-step methods—whether using stem cuttings, air layering, or water propagation—you can successfully propagate rubber plants and enjoy their beauty in multiple locations around your home. With the right care and attention, your new plants will thrive and grow, bringing a touch of green elegance to your living space.
Fern's Leafy Learnings
Multiple Propagation Methods: Rubber plants can be propagated through stem cuttings, air layering, or water propagation, each with its unique benefits.
High Humidity for Success: Maintaining high humidity is crucial for successful root development in rubber plant cuttings.
Consistent Moisture: Keep the soil consistently moist but not waterlogged to prevent root rot.
Proper Lighting: Place newly propagated plants in bright, indirect light to encourage healthy growth without scorching the leaves.
Temperature Control: Maintain a warm environment between 65-80°F (18-27°C) for optimal growth and development.
Deepen Your Roots with Flora
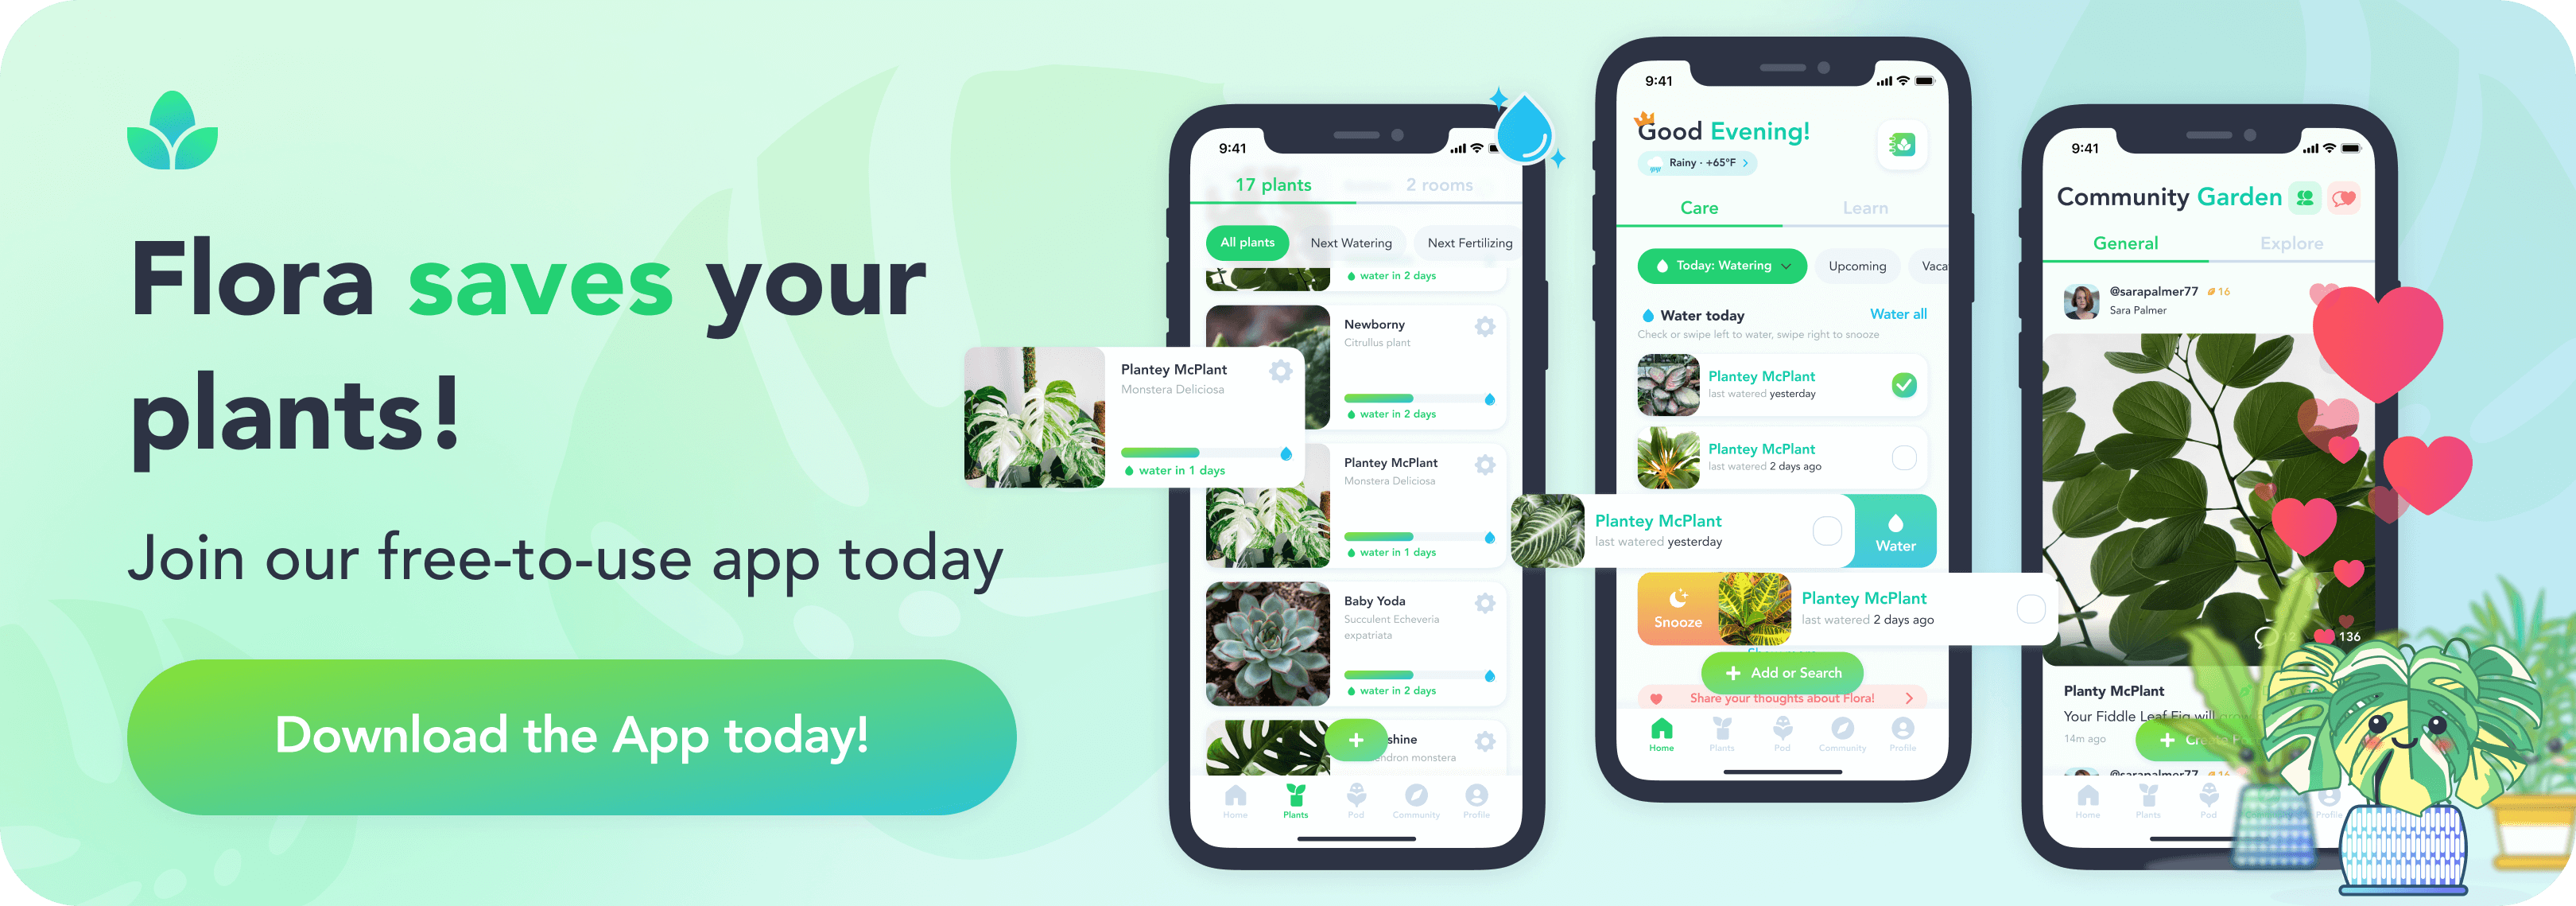
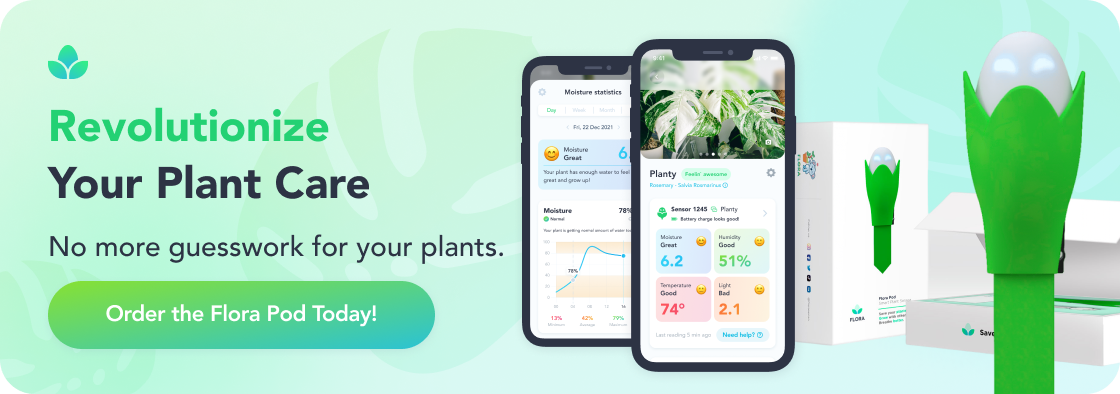
At Flora, we not only bring you a vibrant selection of locally sourced, rare, and delightful plants, but we also serve as your continuous guide in your plant parenting voyage, ensuring every leaf in your sanctuary thrives. With our Flora Pod™ technology and a nurturing community of over 250,000 plant lovers, we cultivate a space where every plant parent - novice or expert - can blossom.
We propagate with a commitment to sustainability, connection, and ceaseless growth, fostering a community where each member, and their plants, are cherished and nurtured.
Crave a lush, thriving green space? Adopt a plant from Flora today!
Flora Pod™ is featured on Shark Tank!

5 Signs Your Houseplant Needs Repotting Now
Mar 02, 2026
6 Anthurium Benefits You Didn't Know About
Mar 02, 2026

How to Prune Your Houseplants Before Spring Growth Season
Mar 02, 2026

10 Best Houseplants for Spring Repotting Success
Mar 02, 2026

Can ZZ Plants Survive in Low Light Conditions?
Mar 02, 2026

5 Critical Pre-Spring Pruning Tips for Houseplants
Mar 02, 2026

Can Succulents Survive Winter Outdoors in Your Climate Zone?
Mar 02, 2026

Which Houseplants Are Toxic to Cats and Should You Avoid Them?
Mar 02, 2026